I haven’t updated this blog in a very long time, but I thought I’d come back and share some progress I’ve made on a few functional car parts.
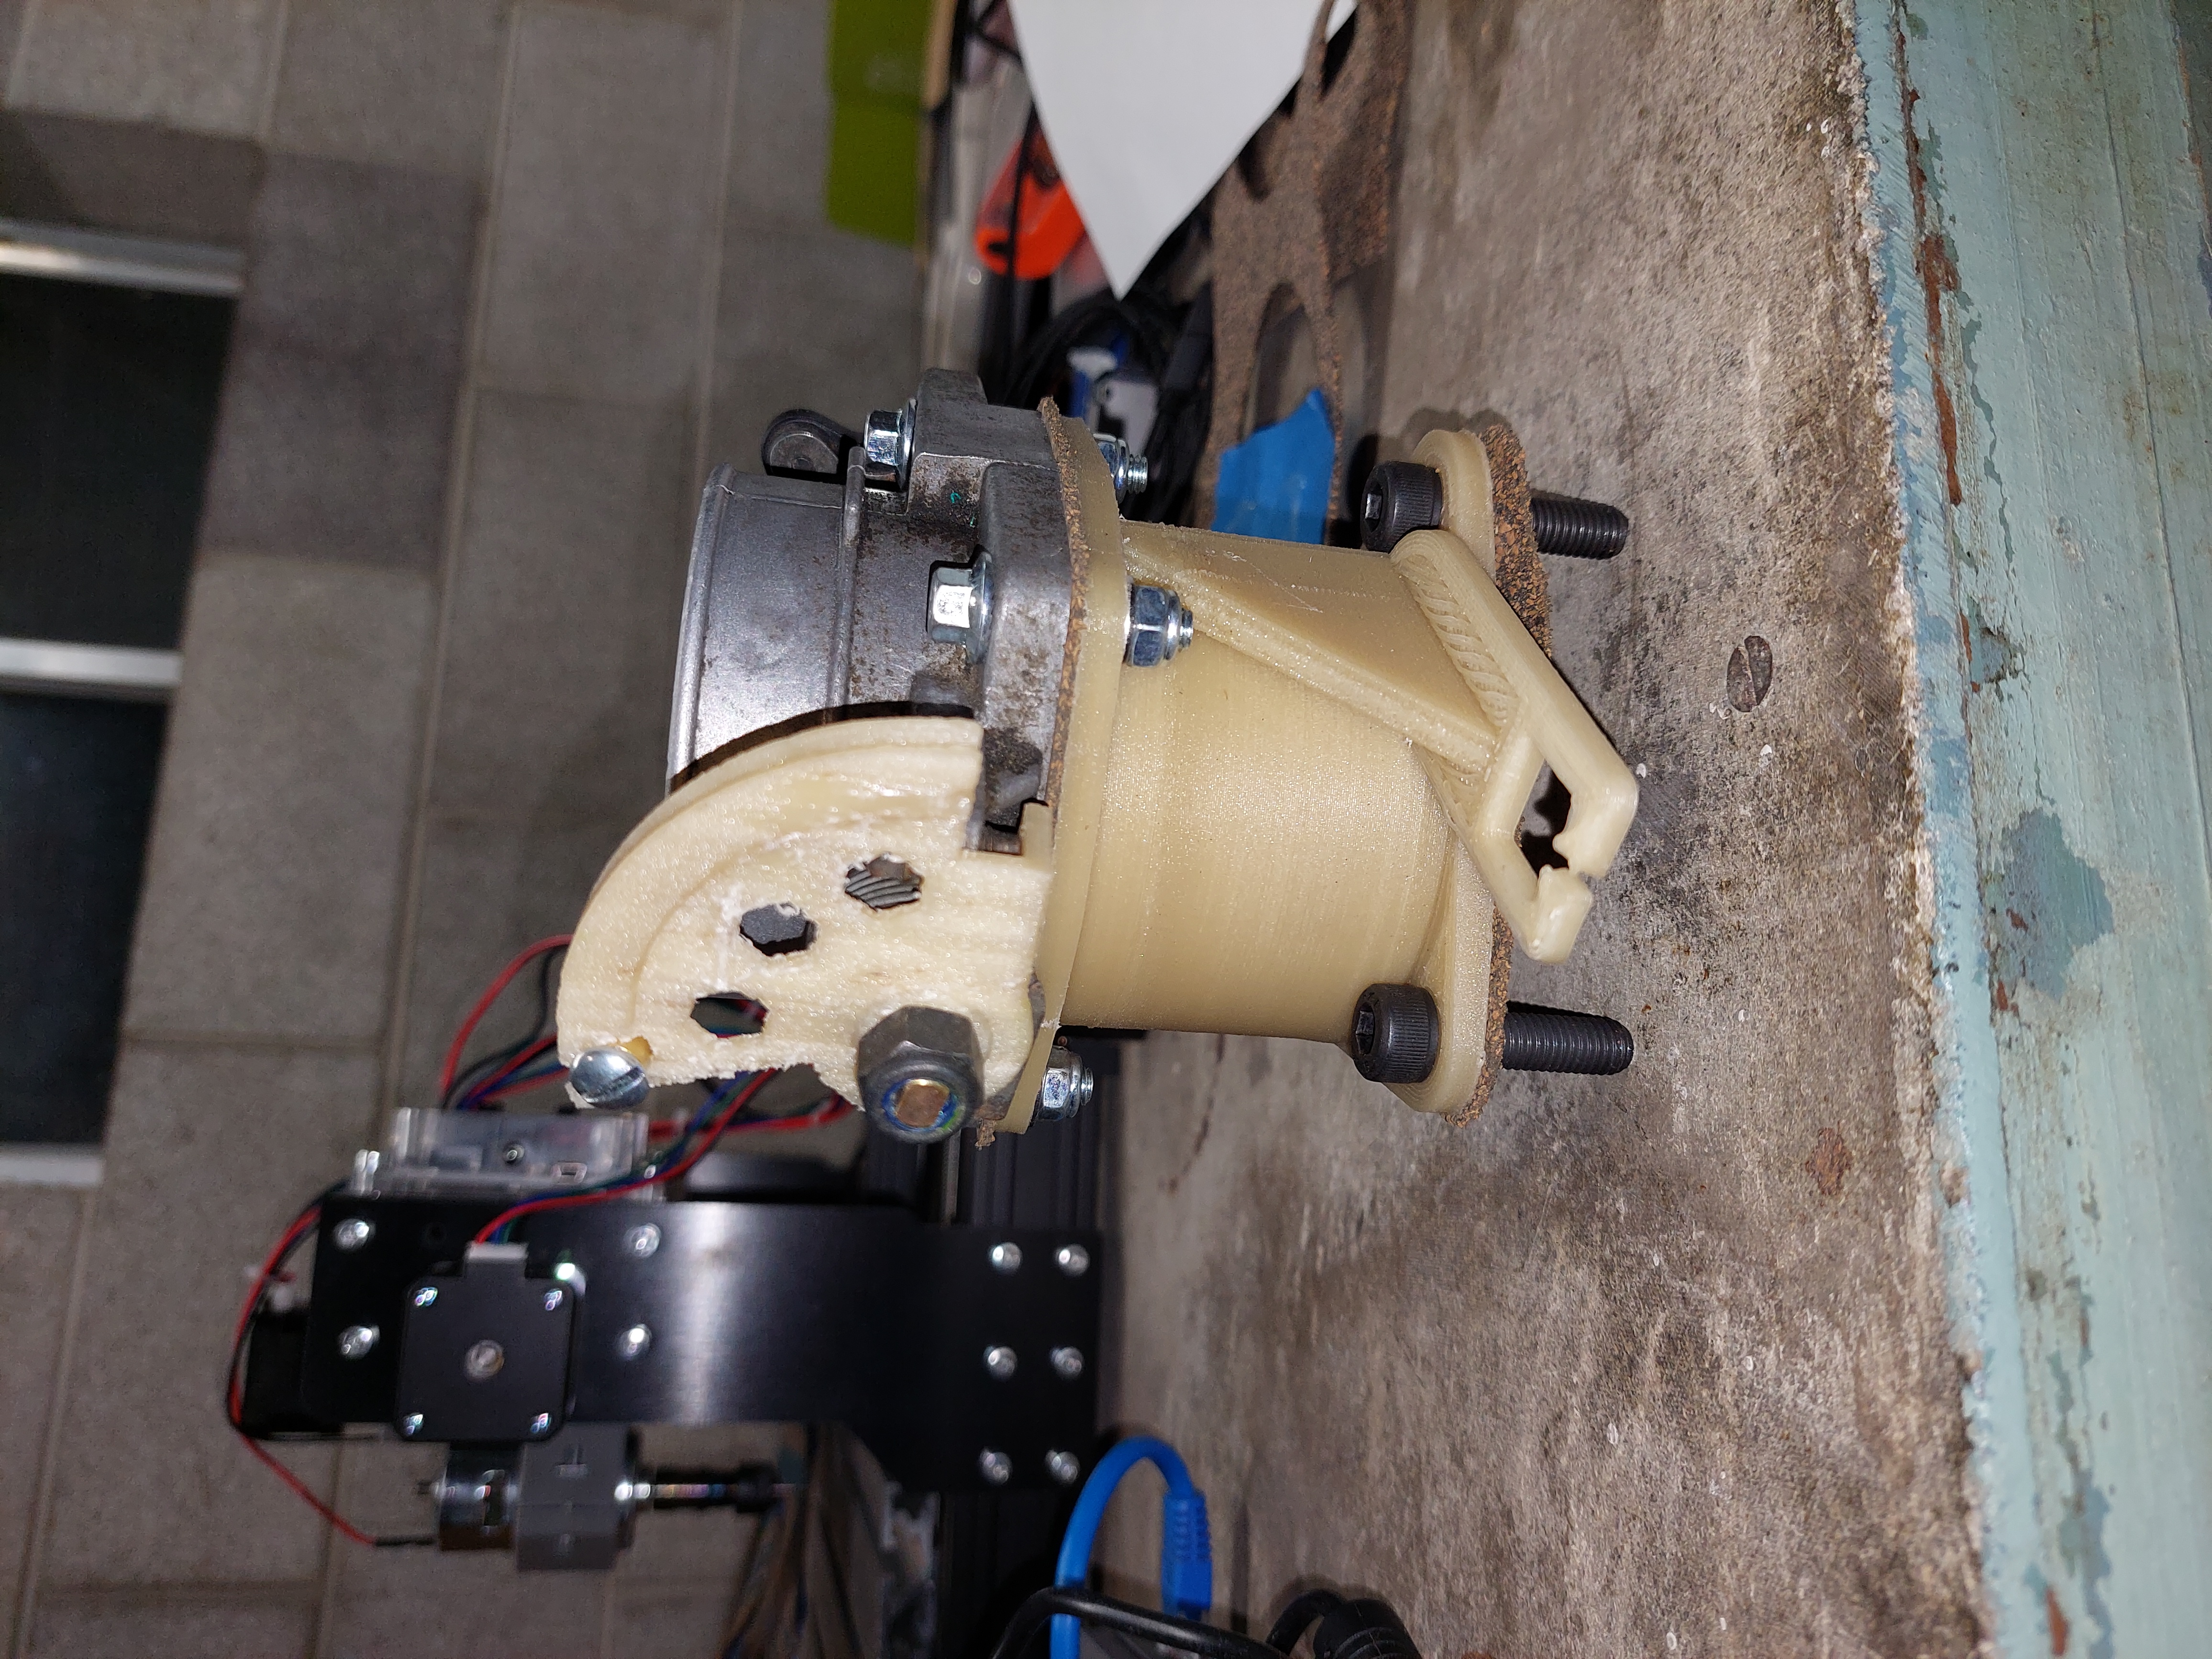
I ran into an issue on my project car (1982 Volvo 242) where pressing the gas pedal pulled more throttle cable than the radius of the Honda D17 throttle wheel (that I Frankensteined into the build) allowed. When stomping the gas, the throttle would slam against its stop, and I ran into a couple of situations where I popped the end off of the throttle cable. I came to the conclusion that I could 3d print a larger wheel to fix the problem and allow the travel of the throttle cable to match the rotation of the throttle.
Fast forward literally a few years, and I had realized that the D17 throttle was not going to accommodate a larger wheel. I decided to upgrade to a larger throttle body off of a naturally aspirated Volvo 850. I also needed to design an adapter to space it off of the intake manifold. This was necessary to allow for clearance between the throttle wheel and the intake plenum and provide somewhere for the fixed portion of the throttle cable to attach.

I didn’t know the exact angle I’d need to clear the top of the intake manifold, so I designed the manifold-side flange with a chamfer and chamfered the tube where it would meet the flange. After the parts were printed, I used my hot air station along with a piece of filament to weld the flange to the tube (think soldering or TIG welding).
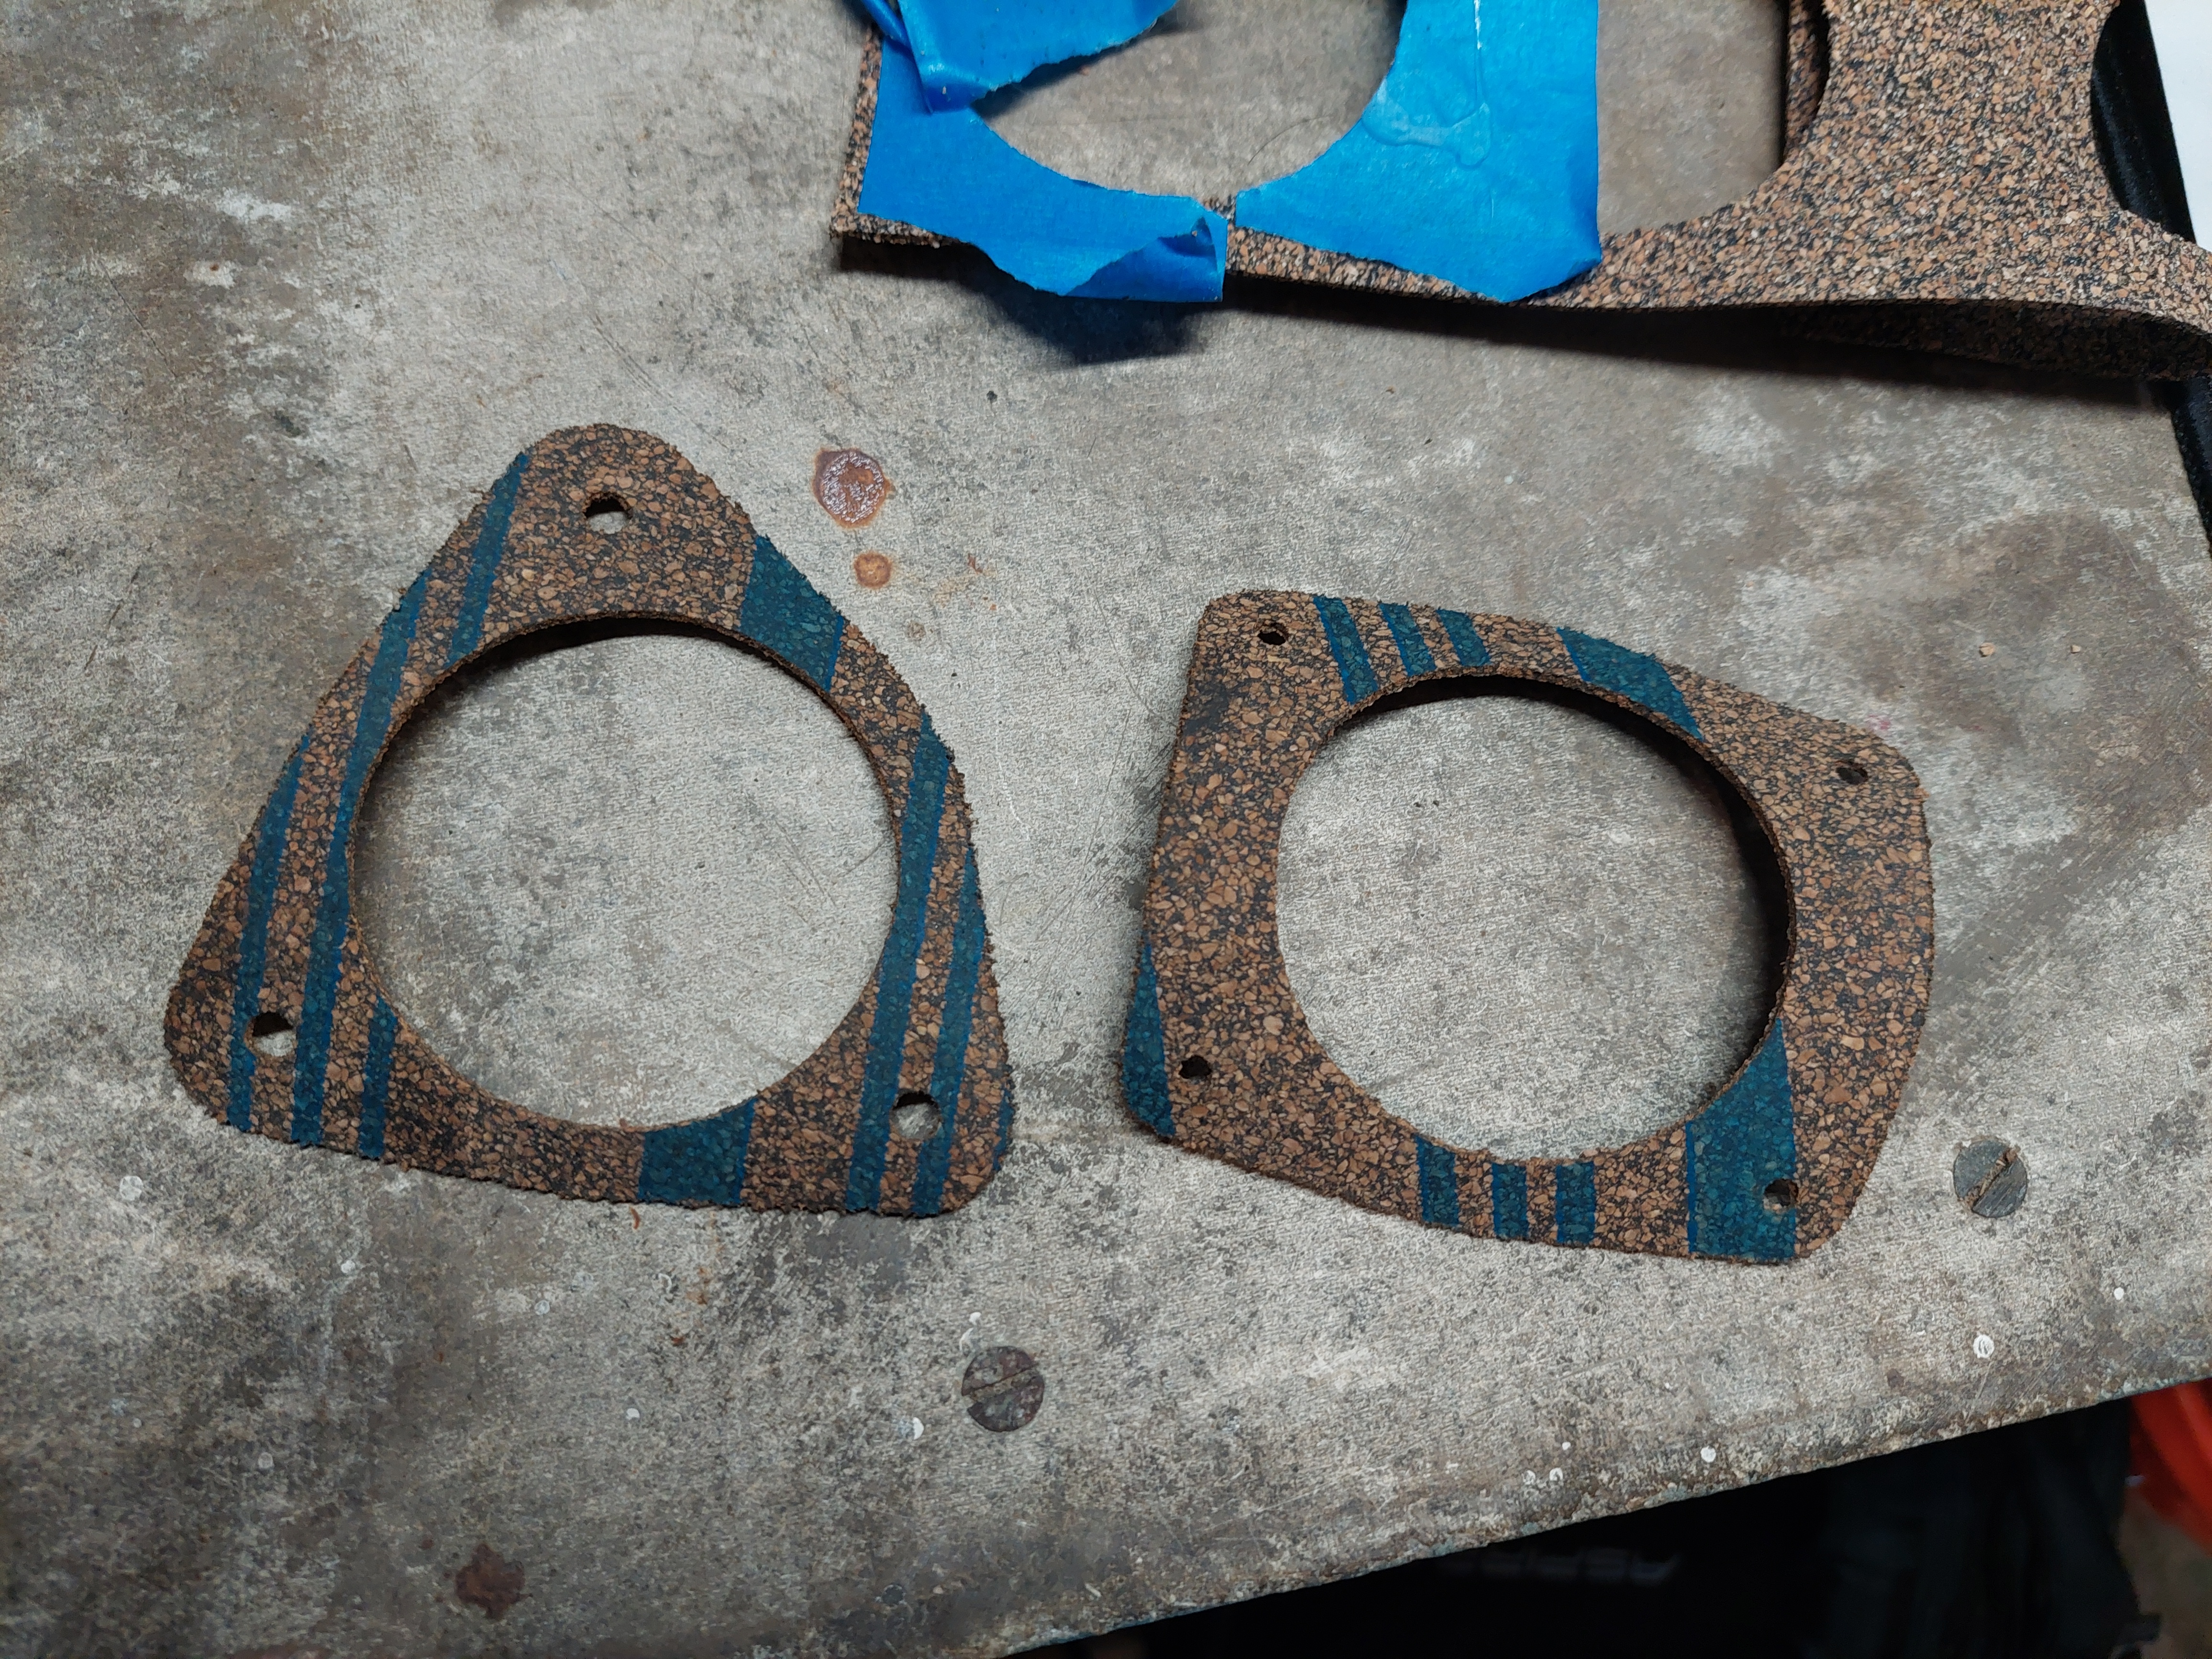
While I was at it, I figured I would also CNC cut some cork gaskets on my little desktop mill. Having the flanges already modeled in FreeCAD made it very easy to convert them into a tool path and start cutting.
The adapter, along with the throttle wheel, were printed in fiberglass reinforced Nylon. This is the same material as the major OEMs are injection molding their intake manifolds with these days, so I’m confident it will hold up to the temperatures and pressures.

I also printed an elbow to mount my pod filter and have a port for crankcase ventilation. I printed this out of PETG, and I’m using it as a test to see how well the plastic holds up to under-hood temperatures this summer. The way I see it, it’s conductively isolated from the heat of the intake manifold, and it has air being pulled through it all the time, so it should be OK.

In order to print this on my Ender 3 with the amount of black PETG I had on hand, I decided to print it vertically. This resulted in less warping over the length of the pipe than my attempts with it lying down. This is because layers shrink in the X and Y, and they shrink a percentage of their total dimensions. Printing it vertically also dramatically reduced the amount of support material necessary, so I had much less waste, and it took a lot less time.
